Screed Flooring Explained: Latex Self-Levelling Before a New Floor
Screed flooring before LVT, vinyl or laminate: how latex self-levelling compound works, when it's needed, and how it differs from sand-cement screed.
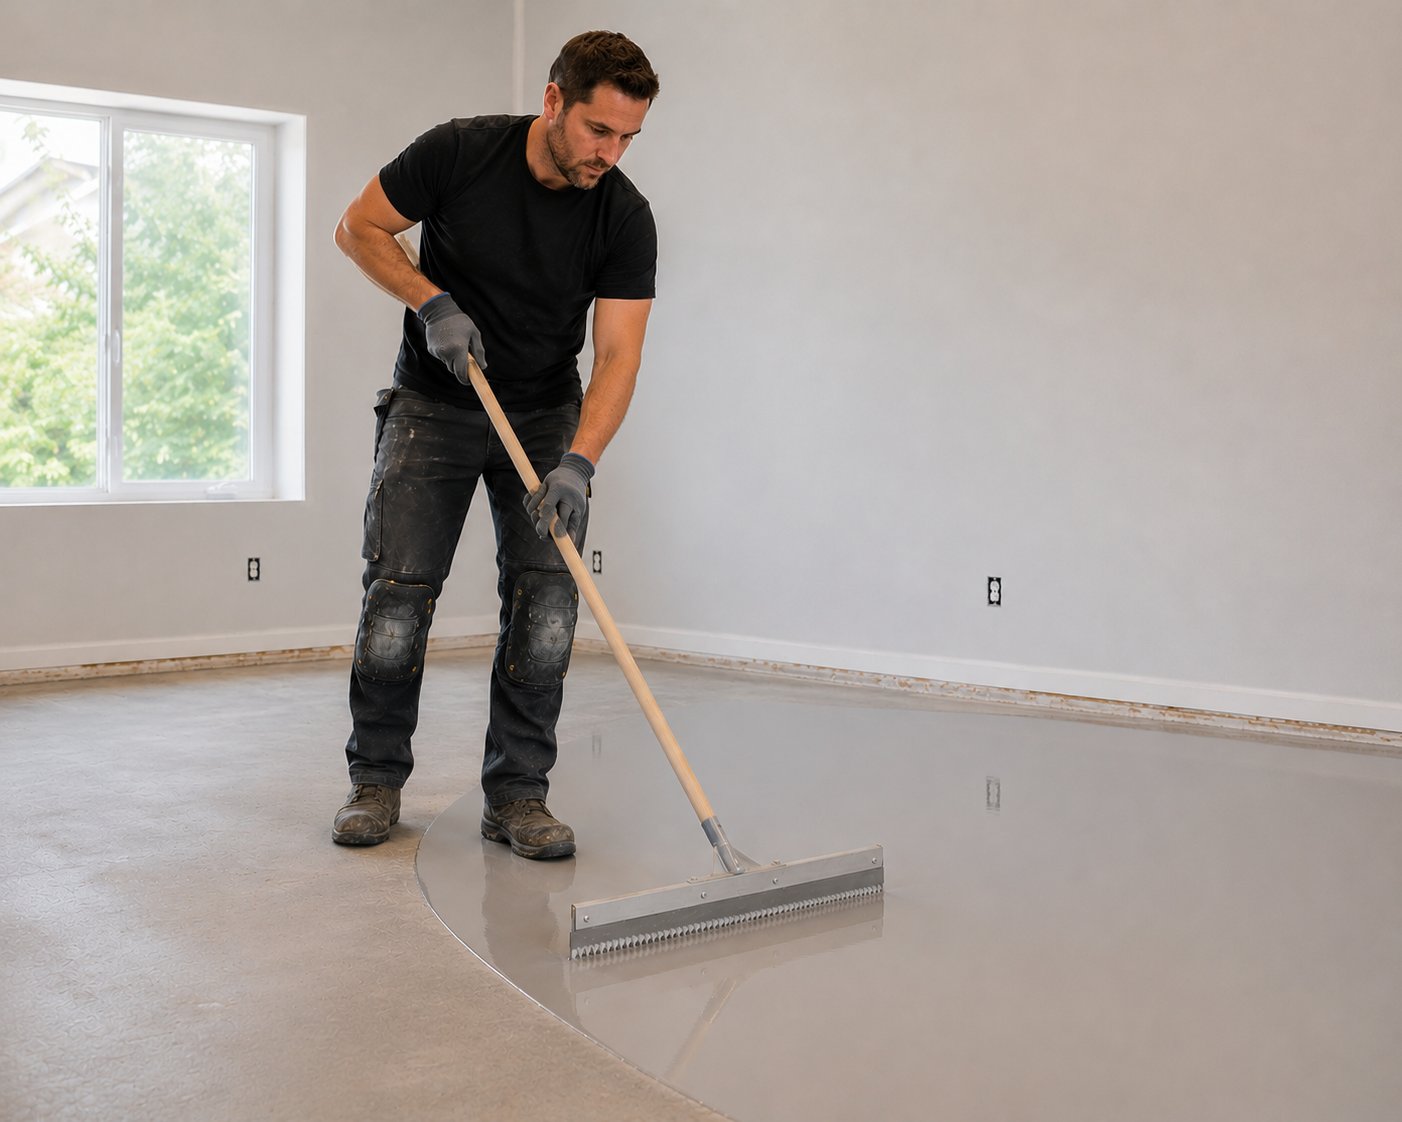
If you're searching for screed flooring before a new floor goes down, what you most likely need is a latex self-levelling screed: a fast-drying, pourable mix that flows out to a flat, smooth finish over an existing subfloor. It's the most common levelling material used before LVT, vinyl and laminate go down over uneven concrete or old screed, because it cures quickly and creates the smooth base these products need.
It's often confused with full sand-cement screed, which is a much thicker, structural layer used to build up floor height or repair a badly damaged base. Latex is a finishing layer, not a structural one, and understanding the difference helps explain why one job might need a few hours' work and another needs several days.
The finished result should feel almost like glass underfoot once cured — no trowel marks, no ridges, no soft or hollow patches. Getting there depends on the mix ratio being right, the primer coat being allowed to properly tack off first, and the pour being worked quickly before it starts to set, which is why it's a job for an experienced pair of hands rather than something bolted onto the end of a fitting day as an afterthought.
How latex levelling is applied
The subfloor is first cleaned and primed so the latex bonds properly. The compound is then mixed and poured, and it self-levels to a flat surface with minimal trowelling needed — hence the name. Depths typically range from a couple of millimetres as a smoothing layer up to around 10mm where more levelling is needed.
A latex primer is brushed or rollered onto the swept, dust-free base and left to become tacky before the pour begins. Skipping the primer, or pouring onto a dusty surface, is one of the most common reasons a levelling compound later delaminates from the slab in patches, sounding hollow underfoot even though the surface looks perfectly flat.
For anything deeper than around 10mm, a fibre-reinforced or 'deep-fill' version of the compound is generally used instead of standard latex, since ordinary self-levelling mix can crack or shrink unpredictably when poured too thick in one go.
Latex screed versus sand-cement screed
| Feature | Latex self-levelling | Sand-cement screed |
|---|---|---|
| Typical depth | 2–10mm | 25mm+ |
| Cure time before fitting | Hours (varies by product) | Days to weeks |
| Main use | Smoothing an existing base | Building up height or structural repair |
| Finish | Very smooth, self-levelling | Needs a levelling layer on top for LVT/vinyl |
When it's specified over other options
- Existing concrete or screed is structurally sound but uneven
- The new floorcovering (LVT, vinyl, laminate) needs a flat, smooth substrate
- Minor dips need filling without raising the overall floor height significantly
- An old tiled floor is being levelled over rather than dug out, once loose tiles are dealt with
Getting the room ready for a pour
Doorways often need temporary damming with timber battens so the liquid compound doesn't flow straight out into the hallway, and any pipework, cable ducts or floor-mounted fittings need protecting or working around before the pour starts. Radiators and kitchen units are usually left in place, which means the compound has to be worked carefully around pedestal legs and skirting rather than simply flooded across an open room.
Common faults we find with previous levelling work
- Compound poured over a dusty, unprimed surface, causing later delamination and a hollow sound
- Depths pushed well beyond what standard latex is rated for, leading to surface cracking
- Levelling carried out over damp concrete without addressing the underlying moisture first
- A rushed pour left with trowel ridges that then show through thin LVT once fitted
Drying and moisture considerations
Latex compound dries relatively quickly, but the subfloor beneath it must be within a safe moisture range before it's applied — pouring latex over a damp slab traps moisture rather than solving the problem. This is why moisture testing usually happens before levelling is agreed, not after.
Guide cost and what affects it
As a guide only, latex levelling is typically priced per square metre and depends on the depth needed and how much preparation the existing surface requires. A light skim over a mostly flat slab costs less than levelling a floor with significant dips across several rooms.
Frequently asked questions
- Is latex screed the same as self-levelling compound?
- Yes, these terms are generally used interchangeably in the flooring trade to describe the same pourable, latex-based levelling product.
- Can carpet be fitted straight after latex levelling?
- Carpet is more forgiving of minor unevenness than LVT or laminate, so latex levelling is less commonly needed. Where it is used, the compound needs to be fully cured before underlay and carpet go down.
- Will latex levelling fix a damp floor?
- No — it's a levelling product, not a damp treatment. If moisture testing shows a reading above the safe threshold, that needs addressing separately before any levelling or new flooring is fitted.
- How do I know if my floor needs levelling?
- Our survey includes checking floor levels with a straightedge, so we can tell you honestly whether levelling is needed rather than adding it as a default cost.
Keep reading
What proper subfloor preparation involves before new flooring goes down, why it matters, and what our fitters check on survey day.
How moisture testing of floors works before new flooring goes down: meters, hygrometer and carbide tests on concrete, what readings mean and what happens next.
Why plywood overlay boarding is used over timber subfloors before fitting vinyl or LVT, and how it differs from screeding.
Quoted for levelling or boarding before a new floor? Here is how latex compound and plywood overlay differ and which your subfloor needs.
See how we survey, prepare and fit LVT across Kent.
See how we survey, prepare and fit vinyl across Kent.
Talk it through with a fitter, not a call centre
Book a free, no-obligation survey with Kent Flooring Warehouse and our in-house fitting team will check your subfloor and confirm the right levelling specification before you commit to anything — call 07702 737267.